
My bike is an 05 model. I've never seen behind the mask of an 07> so cant say if it's the same.
Gear indicator i went for is here...........
Or direct site..........
I wanted one with a big display and shift lights at the top of the mask so its in the bottom of my vision when riding. There are smaller ones with only gear indication out there though.
Unit has 4 wires to connect in and one left free for set up.
Red wire goes to an ignition live.
My bike has a main on/off switch instead of a key but wires are the same. You can pick any of the switched lines, green/black, red/white.

Black wire is the earth.
The top yoke is not a good enough earth so the wire has to be lenghtened. I ran a wire down the right side of the frame tube and earthed in on the front right 8mm bolt for the side trim. I have the quickshifter earthed here too. Note..... if you have an painted or powder coated subframe you will have to rub some off to get a contact, or just run extend your wire down and directly to the battery.
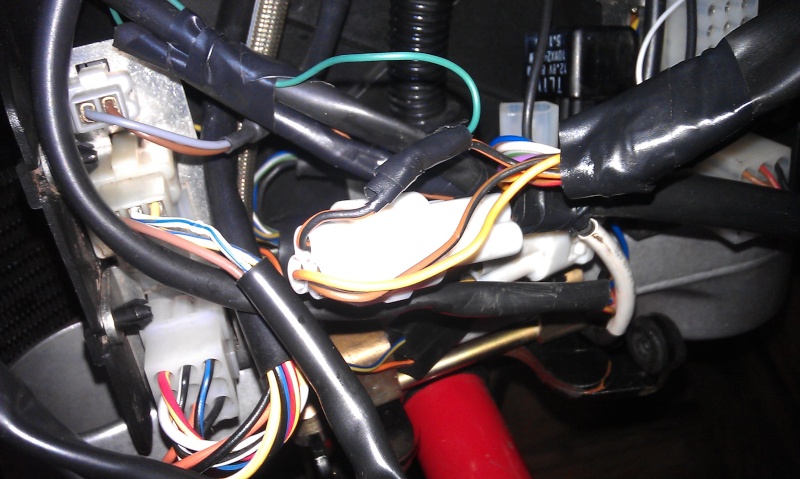
Blue wire is for the rpm signal.
This goes to the 3pin plug or the rev counter on the right side. Connect to the blue/white wire

Green wire is for the road speed signal
This goes to the 3 pin plug from the speed sensor at the the front wheel. Connect to the orange/black wire
On this unit there is a white wire that is used for setup. Unit can be set for various different background colours (red/purple/orange/green/blue) and is fully adjustable for min and max shift light settings.
To enter set up you put ingition on and touch white wire to earth. It then toggles though backlight/shiftlights/gears. Touch to earth at the one you want to set. Full instructions for all this are with the unit so i wont bore you with all that here.
To make it easy to set up i ran an earth and the white wire up to the left side of the mark so i can touch them easy for setting up gears. Just insulate them and tuck them away afterwards.


