
So today we're here for the beautifull Tail tidy from french forum (readytorace.fr) sold by a member "jjg" for a very good price !!!
This item is from JJG engineering and fully Made In Bretagne (even better than Made In France).
Ok it's not Rizoma but I think it is more rock solid !!!
So let's stop joking and get to how to
Before we start, what we need :
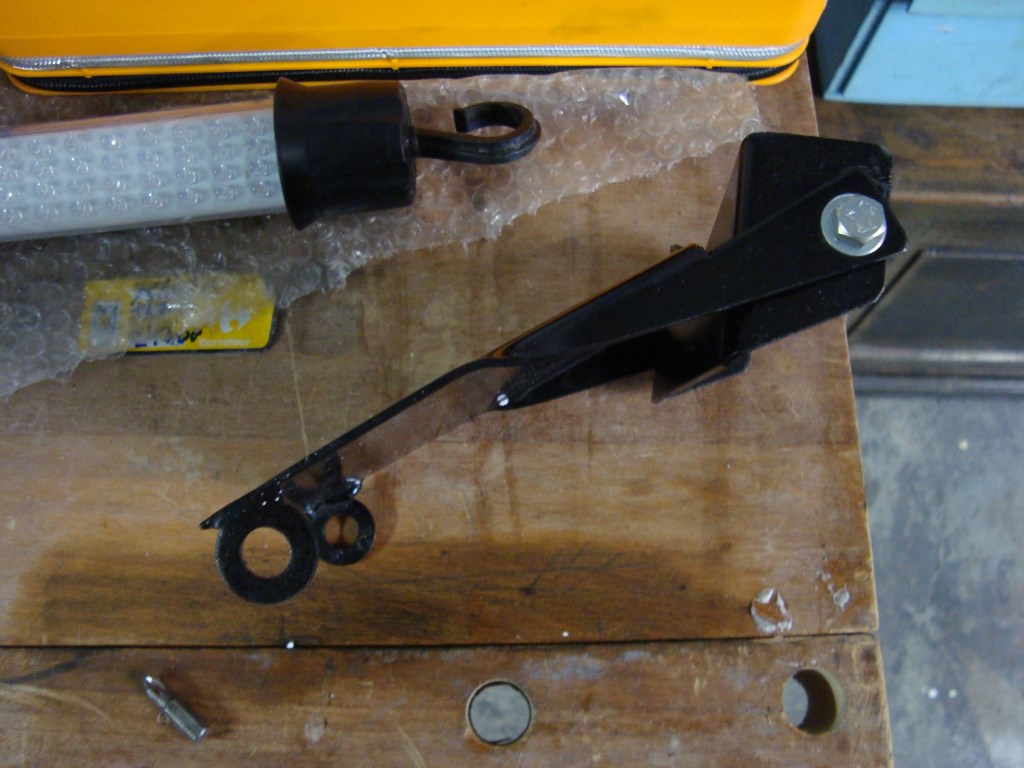
- A tail JJG Performance R


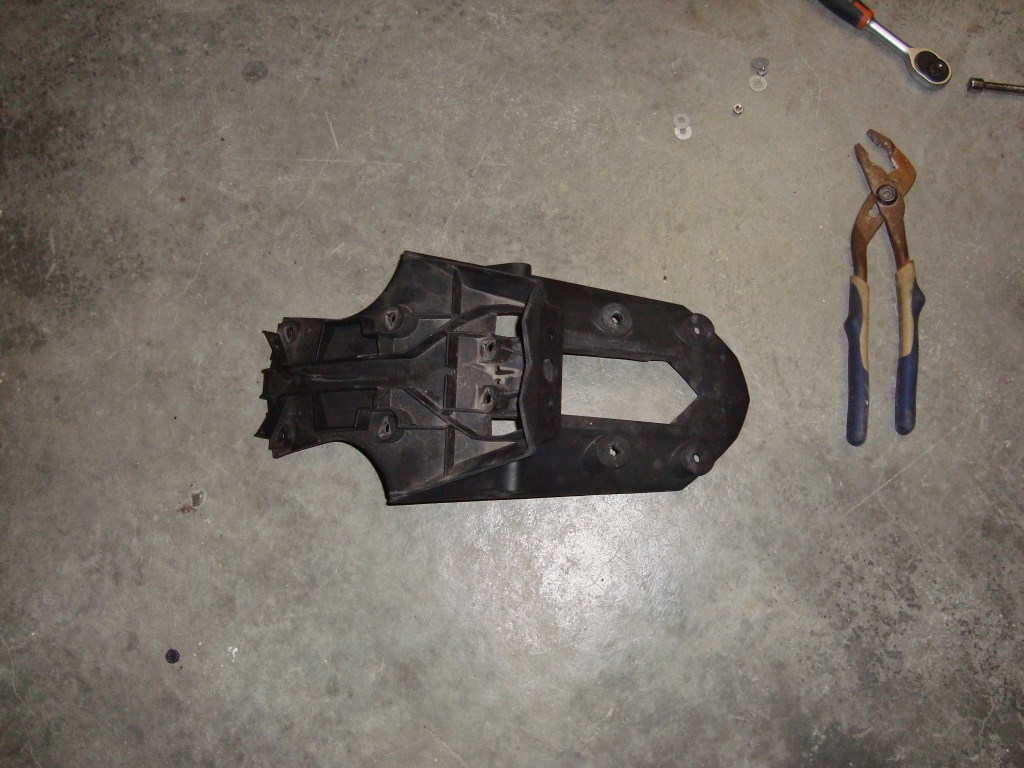
- A wonderfull Superduke with ugly plastic tail :


- Some tools (screwdiver, "clé ou douilles" de 6 / 8 / 10 / 13, "scie à métaux", "mèches diverses") << need some translator over here
- 2 hours to do it right (it tooks 3h30 but I had to take pictures and put stuffs on my airbox and...) ^^
So first we remove the seat (with the key yes I know I am thorow ^^) and remove orange plastics.
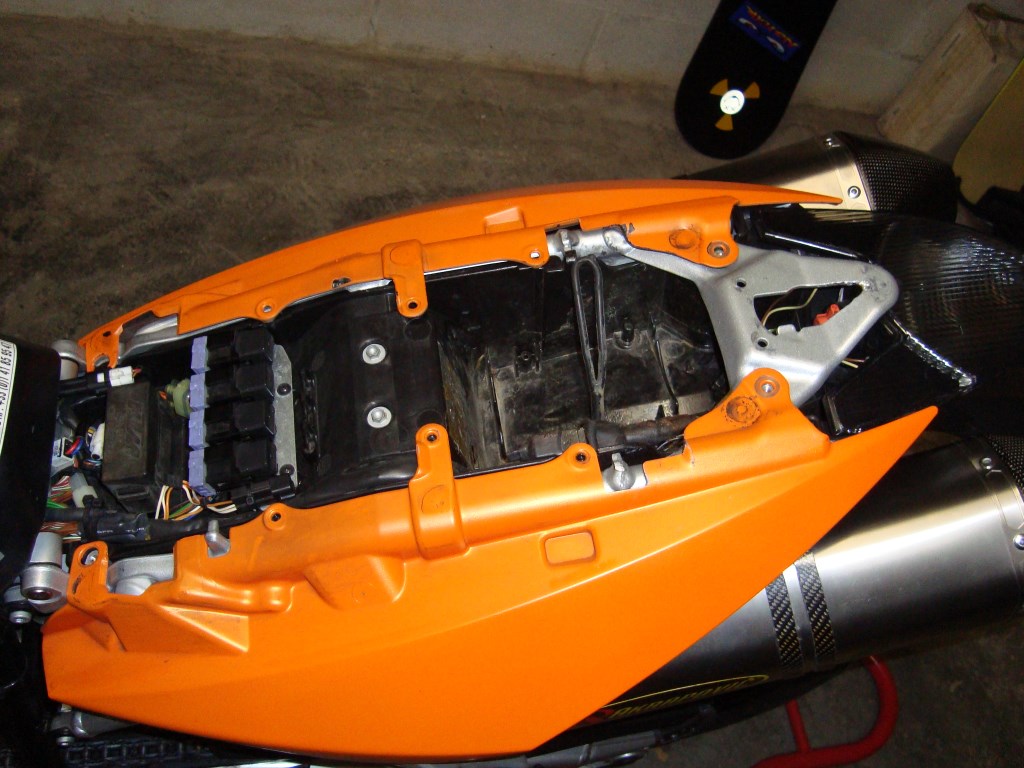
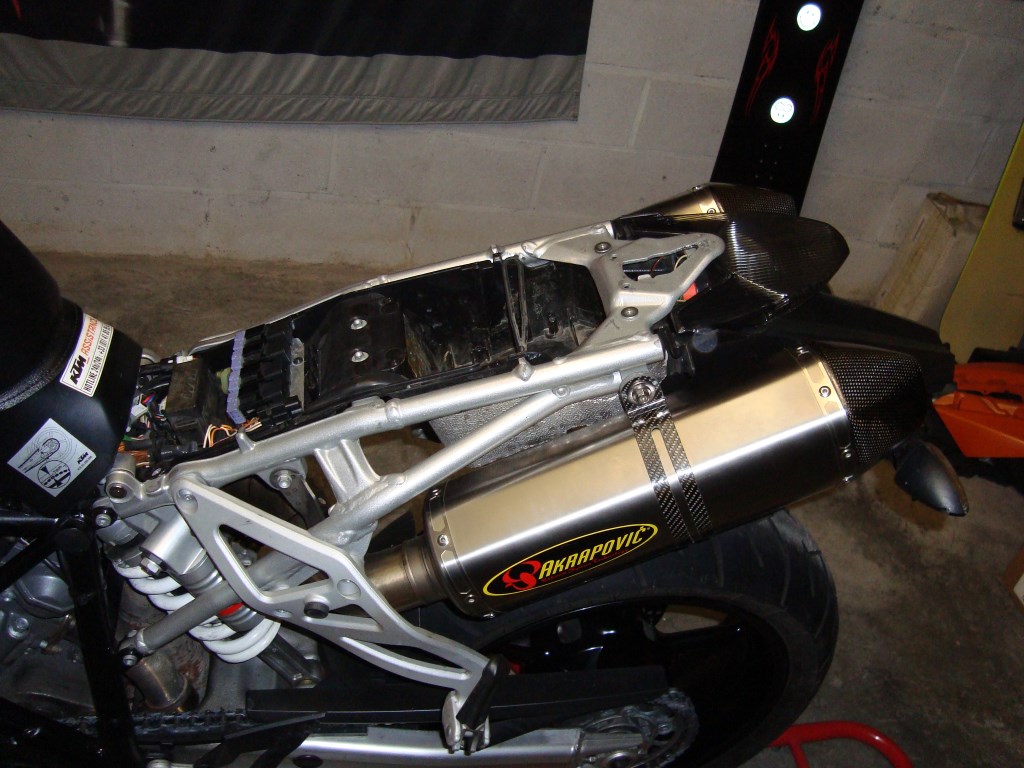

Then we remove cans and pipes
So for that we remove the screws on the Y, on the collar of collector and those which maintains cans to the frame


I use this to also remove flow cats in the cans and Y because I am removing SLS and disabling O2 sensors as well

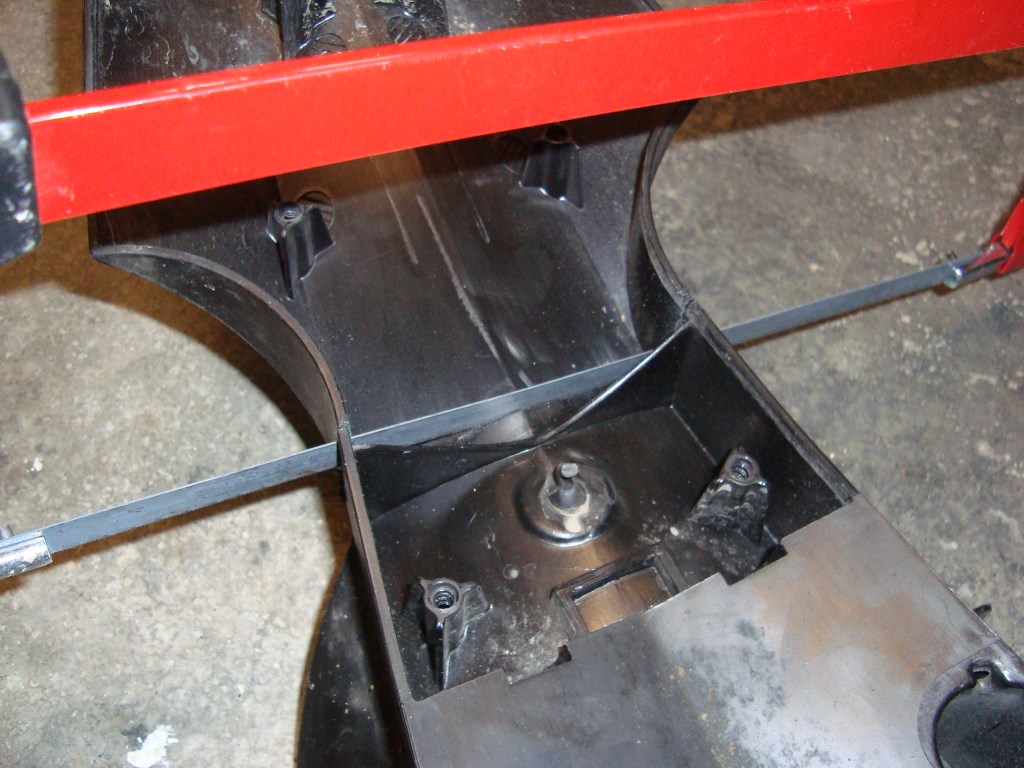
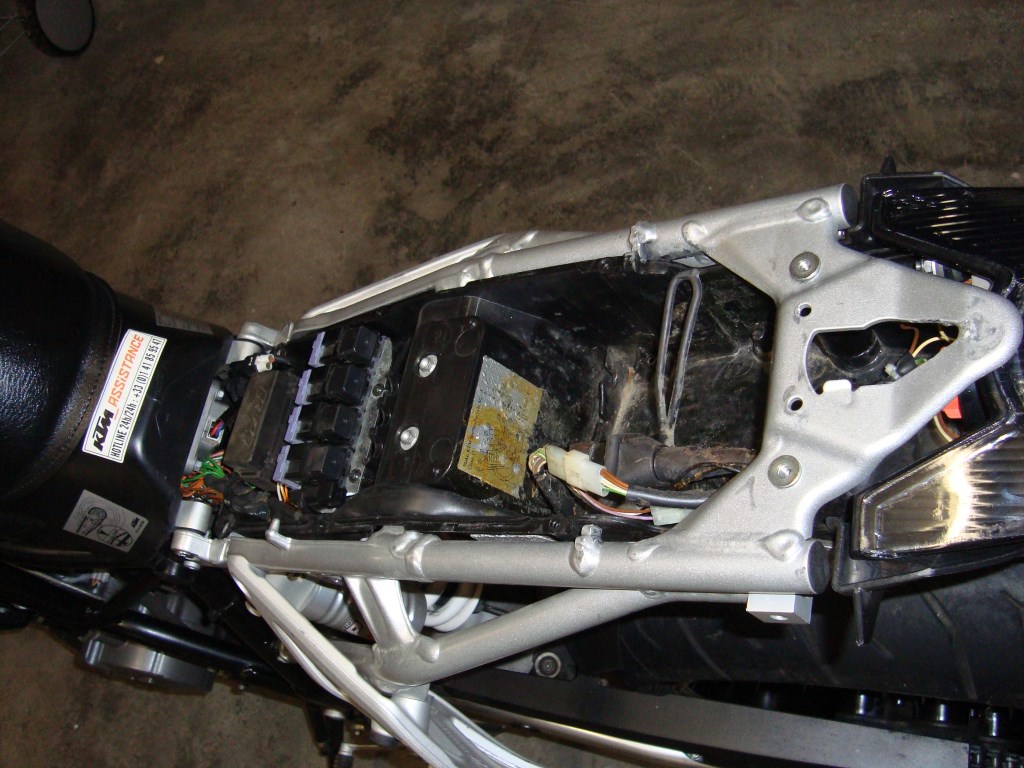
Next we remove the big black box under the seat
- Unscrew the thing with relay and others stuffs
- Unscrew 2 gray screw that old the box to the frame
- Remove fuse older
- Cut the colar that old cables
- Unclip cable olders everywhere
- Unplug tail light
- Remove it gently while olding all electric stuff to protect them


Remove tail light (2 screws)
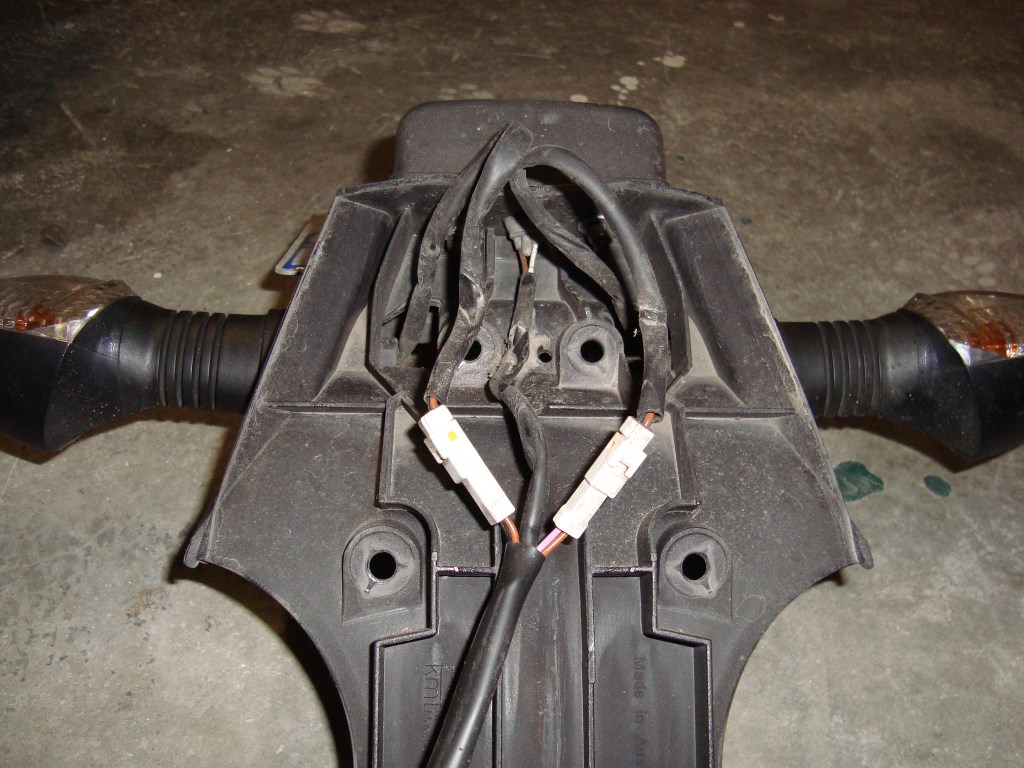
Remove the plastic part holding the plate
- 6 small screws holding it together
- Unscrew plate light (we reuse it with new tail)
- Unscrew turn signals light (we reuse it with new tail)
- Remove plate (if not done before)


Everything is now appart
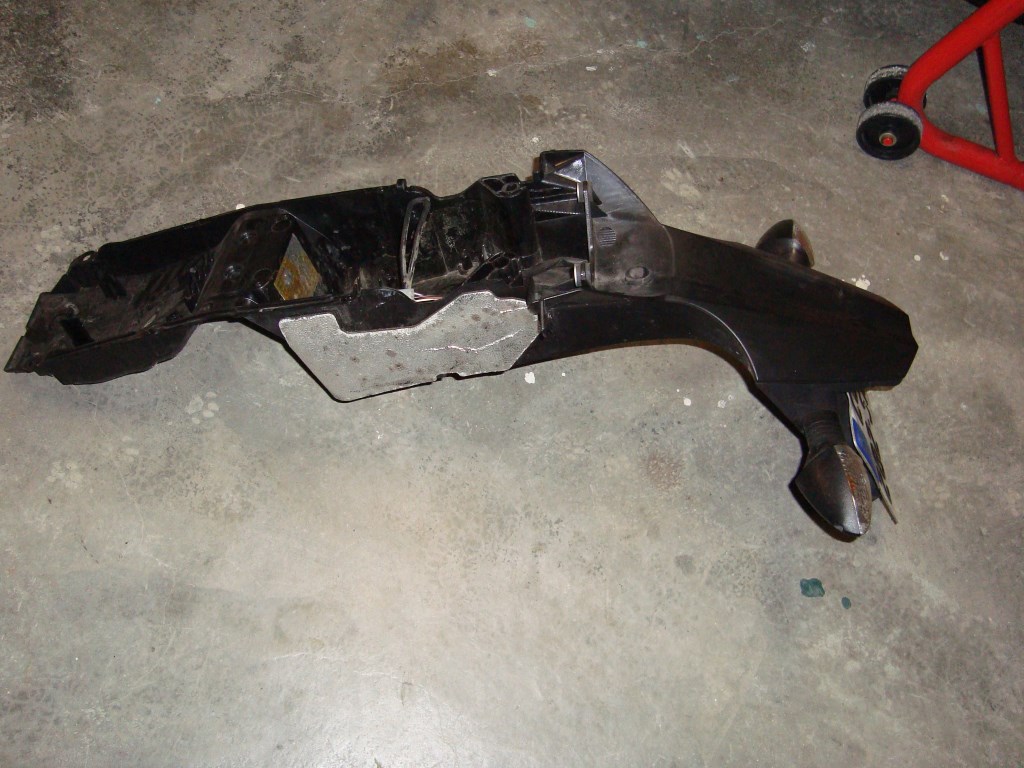
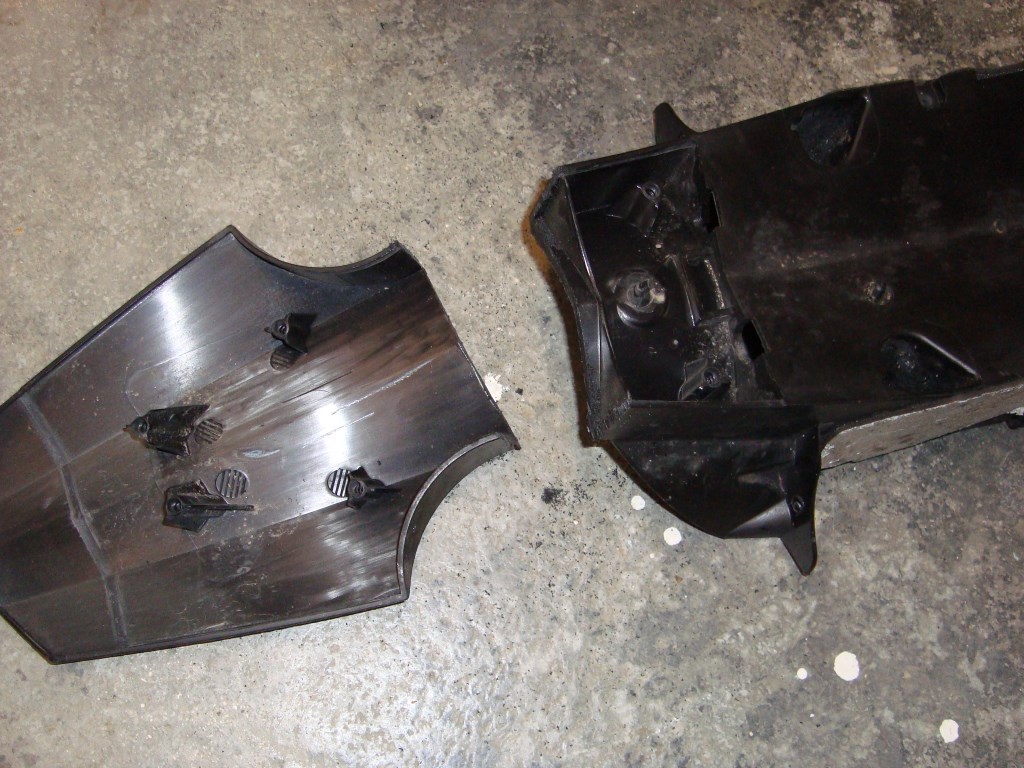
Now we can cut the all thing down, in french "Let's coupe coupe"
So we take our prettier metal saw and we cut behind plastic reenforcement following some mark there in the plastic (KTM is helping us showing the way) look at the pictures they speeks for themself.


In the minetime we are preparing our brand new tail (it's easyer now than after)
So we assemble plate light
We can do the holes for the plate (you can push harder than when everything is on the bike)
Put back turn signals

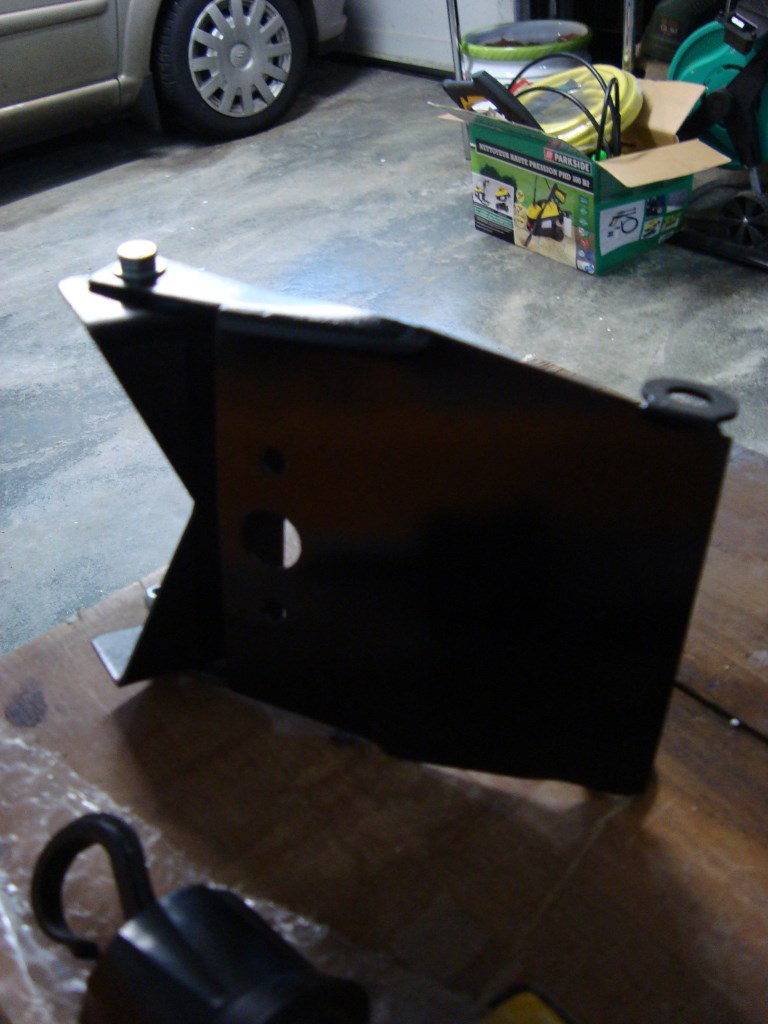
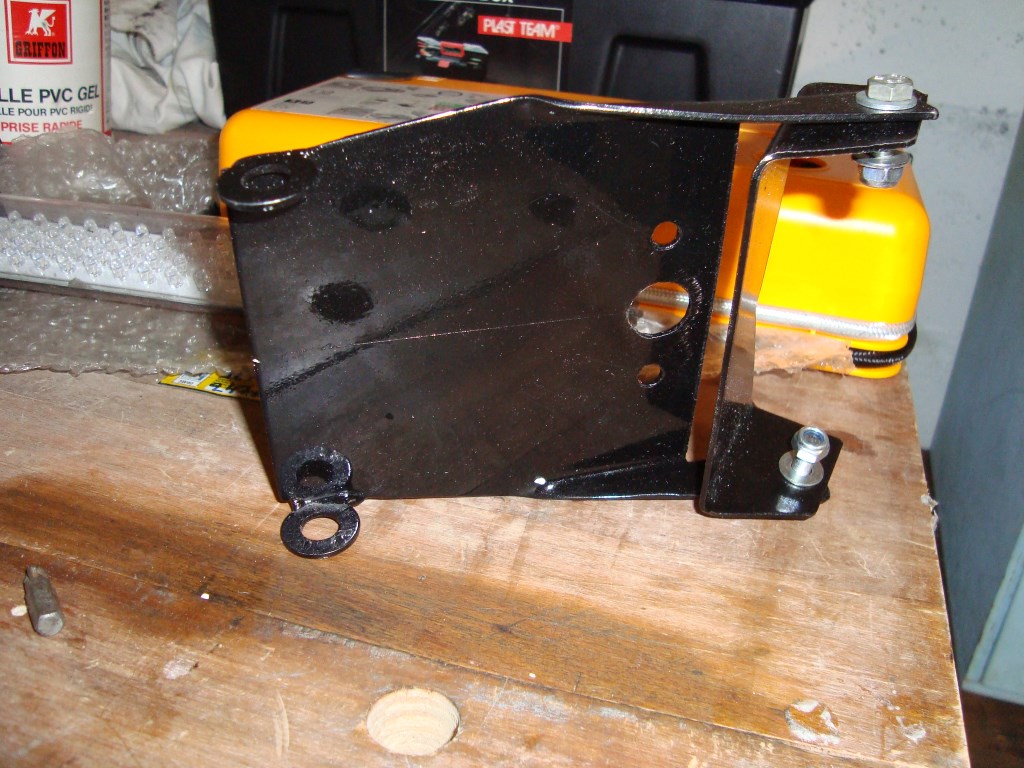
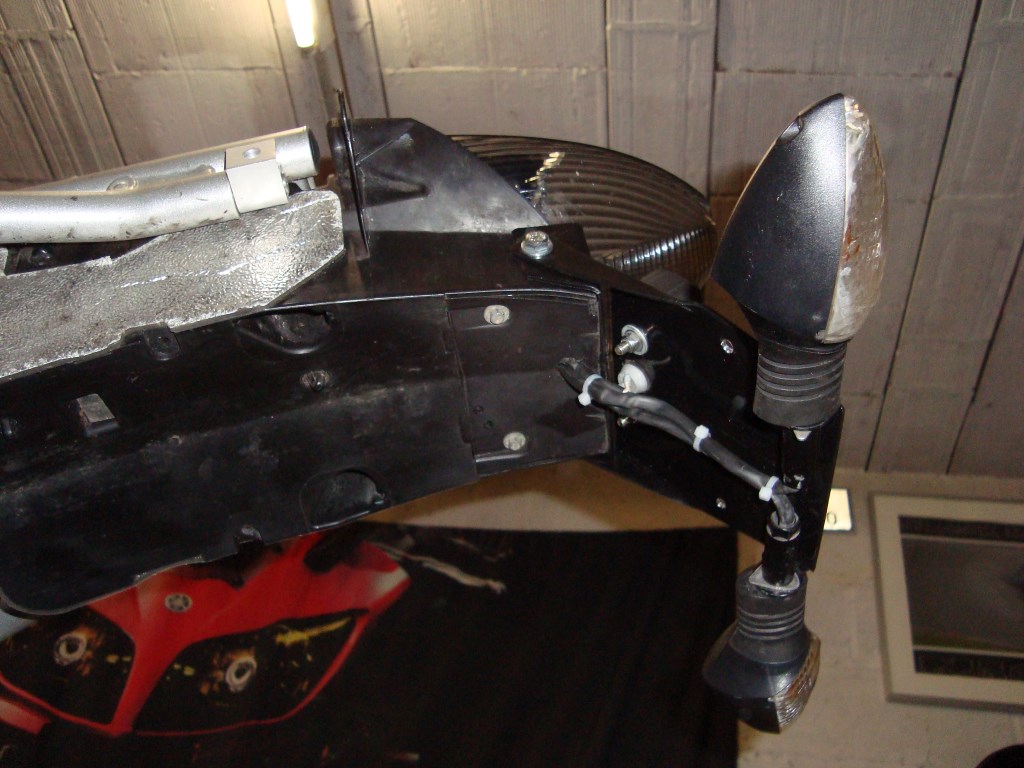
We can now mount our tail "blank" holding it max tied up to the top to mark for the holles and then you take a wood "neche" and you "perce"

Then you mount it (simply)


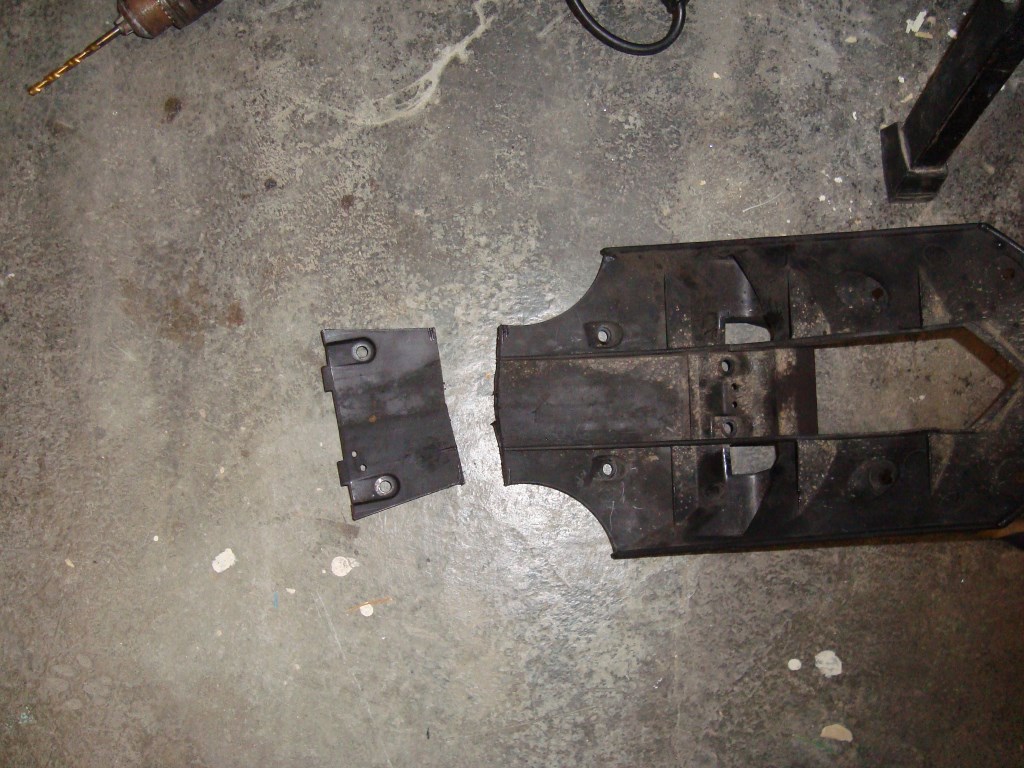
For the ones who love good works you cut the other part to close underset, hide the cable and prevent water damages...
For that we need 6.5 cms piece

You make a big fat hole to get the cables and connectors threw

So we reach cross roads... now we have to put everything back on the bike in exact same order

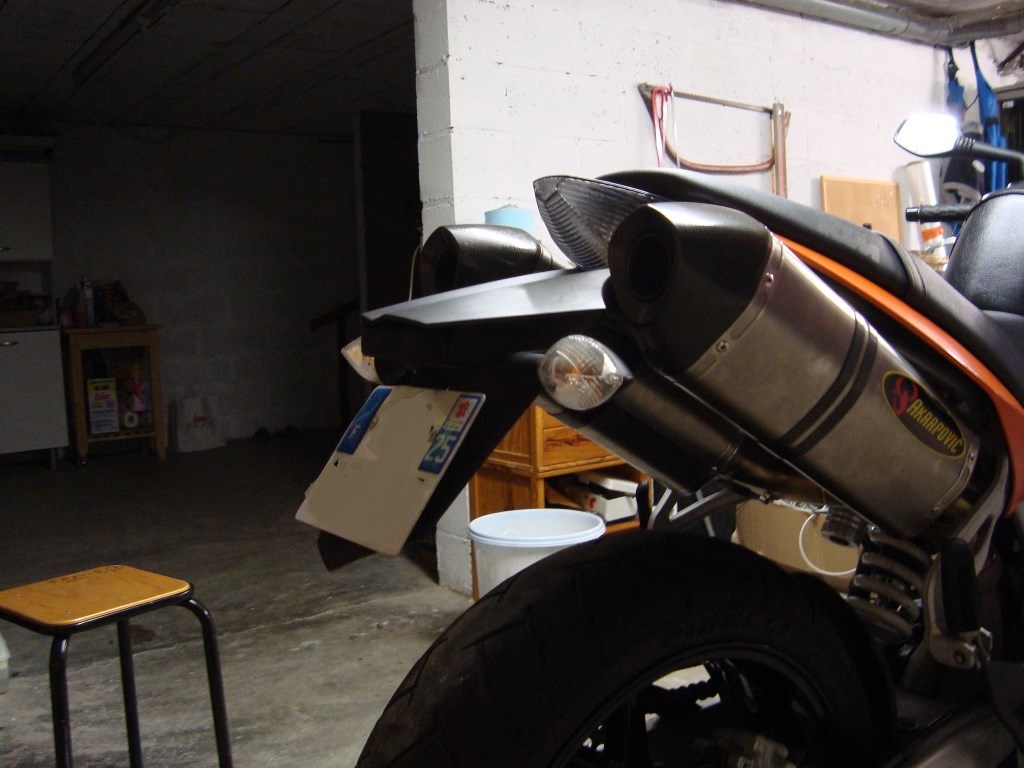
Love it look clean (missing black plastic stuff instead of whites)
And the result when done :


