Twisted Jester
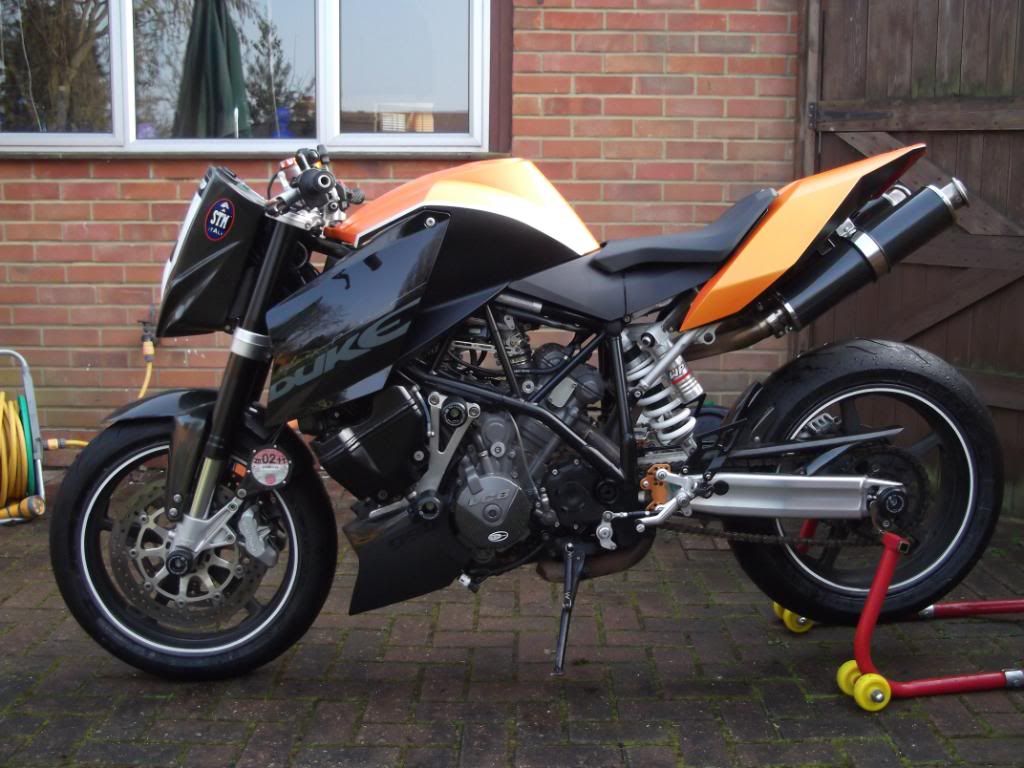
Ok so I fitted my LSL bars and so thought I'd write something up for those wanting to do the same.
Firstly you'll want to know where to get them, they don't seem to be available in the uk so you're probably going to order them from here
EDIT: If anybody wants silver bars let me know as I originally wanted black so maybe we can do a deal on you ordering black and swapping for my silver bars for a small cash incentive from me to you.
Also the link below are apparently not stocking them anymore but Big Ash has posted another link below where he has ordered his from.
https://www.polo-motorrad.de/en/drag-fa ... 75524.html
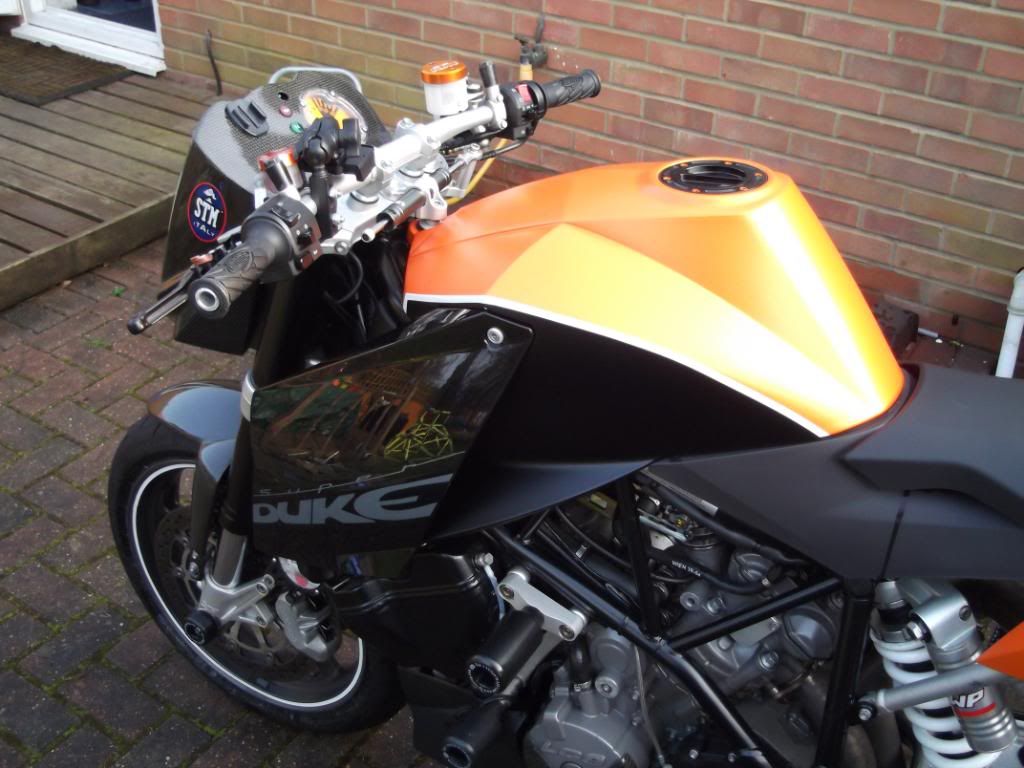
Ok, so the most important thing about all of this for me was getting the width right, I wanted the exact same width as the std bars as I have limited space to run my bike down the side of my house and didn't want to reduce the leverage I have on the bike which helps us to chuck these bikes around so much.
So after careful measuring of the std bars, centreline to centreline and laying it up on the new bars I worked out that you need to cut 47.5 mm off of each side to get the same width as std.
To cut the bars to size I used a pipe cutter like this one although mine was not in the best condition and so it took a while longer than expected, the 2nd side was easier, I just kept winding up the pipe cutter to keep it really tight and held onto the bar with my foot on top of an outdoor table while i did it, a vice and something to protect the bar from marking would of course have been easier though if you have them, alternatively you could mount the bars in the risers to hold em while you cut em down but I didn't think of this till after, doh!
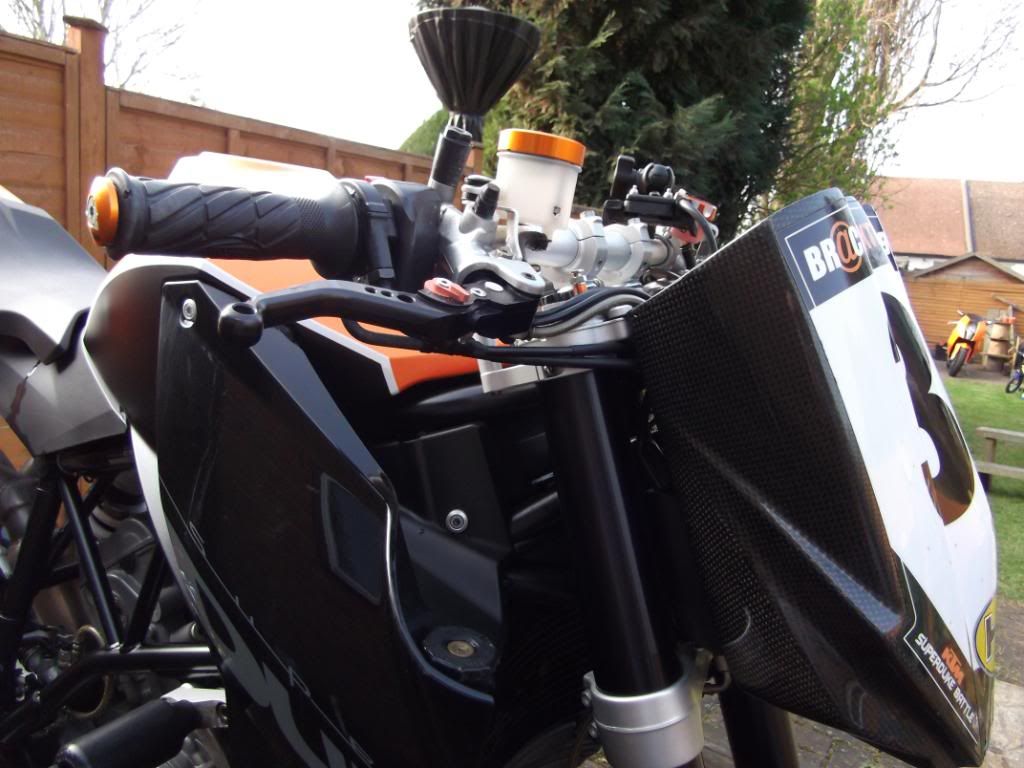
Once I cut em down to size I unbolted the headlight cowl and dropped it forward to give the cables room to move.
I then took the left hand grip off of the std bars by just peeling it back and fitted it to the new bar, in hindsight I should have used something to stick it with as it was moving at cadwell recently.
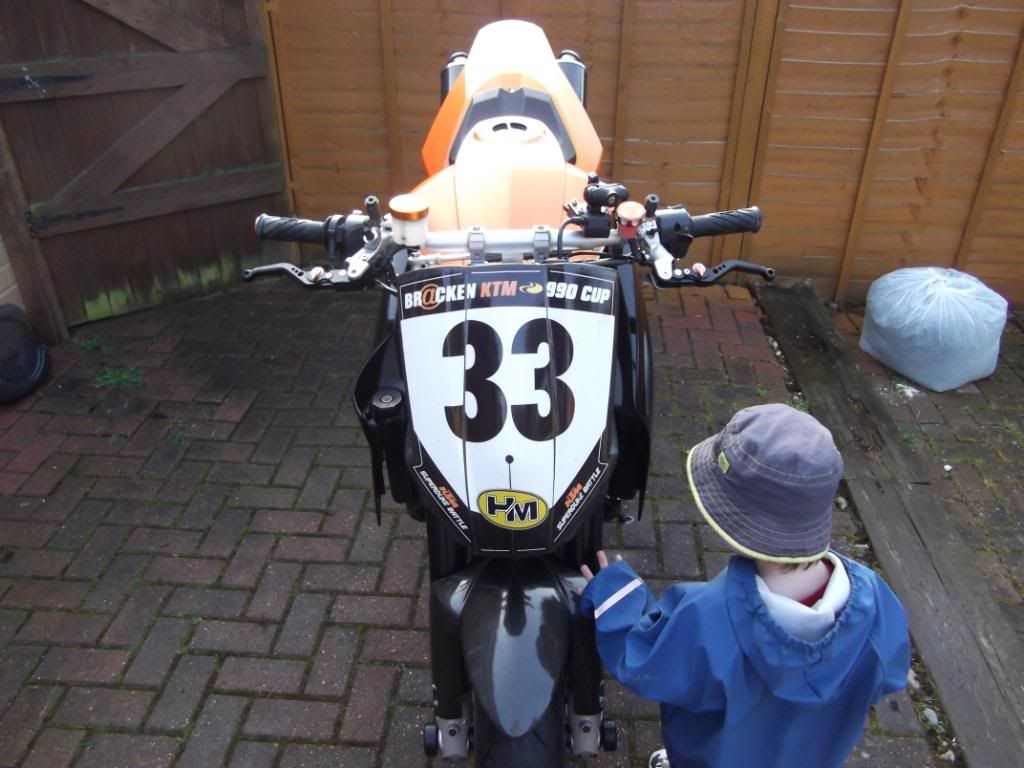
I loosened all the bolts on the hardware (levers, controls, etc) so they were holding but only finger tight and unbolted the std bars from the risers and rested them on the headlight cowl so all the fluids stayed mostly upright.
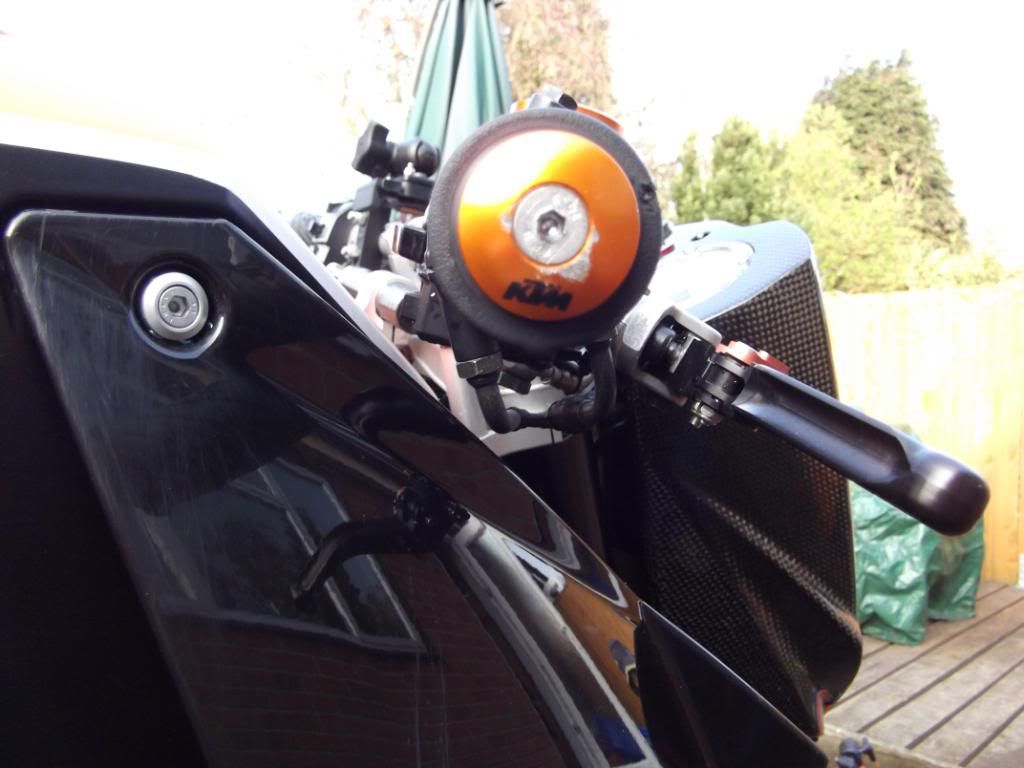
I didn't want to have to mess around with the adjustment on my throttle to remove it so I slid all the left hand controls as close to the centre of the std bars as I could to give me enough slack to slide the throttle off with cables still attached and then slid it on the new bar before bolting it into the risers, if you don't have enough slack you might need to remove the left controls completely. Once bars are mounted In order to still have the throttle cables pointing downwards in the normal fashion, you'll need to route the cables underneath the headlight cowl bolt point on the triple clamp so that they come out between the mask and fork instead of over the top of the fork otherwise it is too kinked to keep things nice and smooth, alternatively you could rotate the throttle so they point upwards and still go down through the top of the cowl like mac boarder did but I didn't like this look.
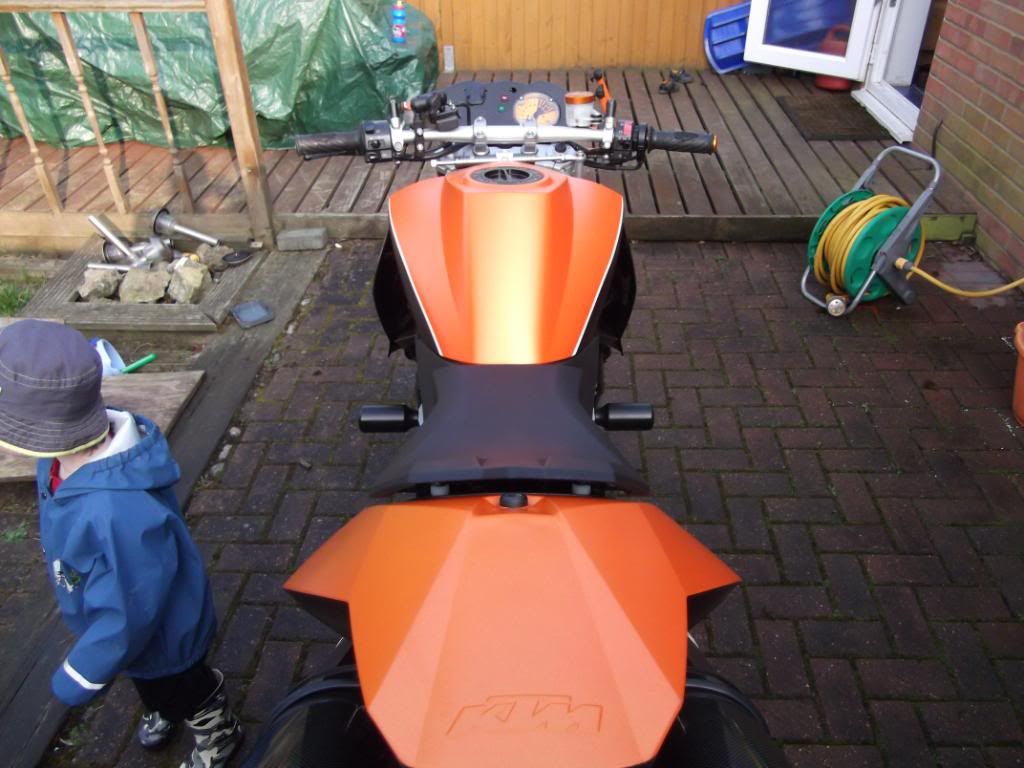
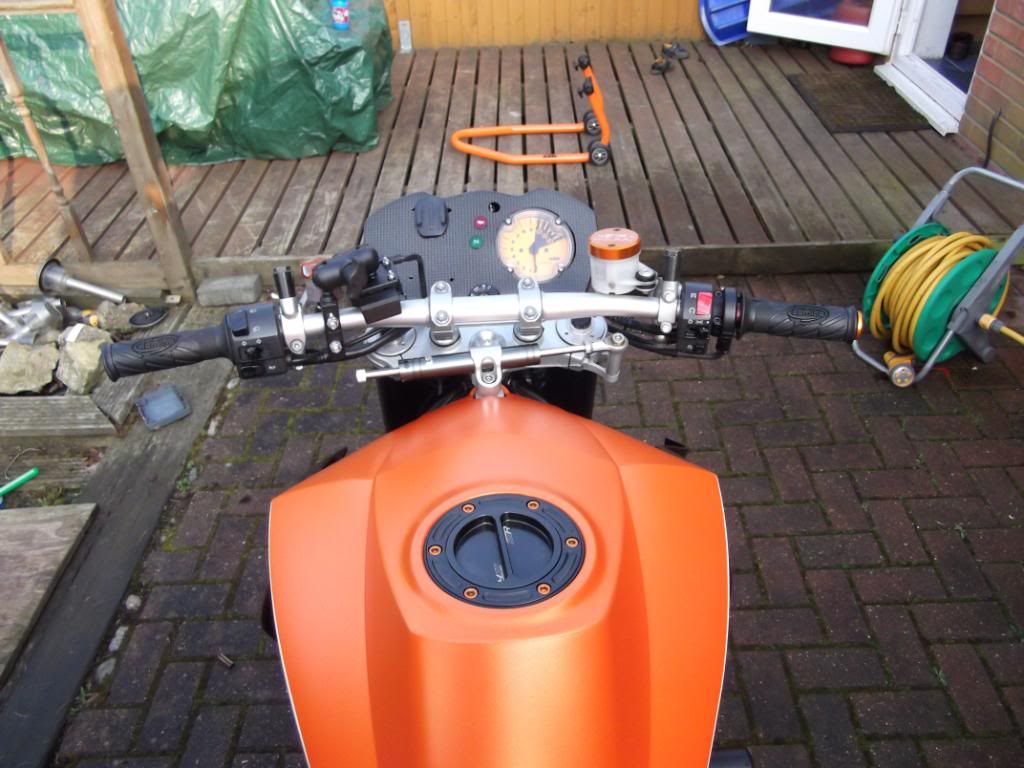
Once in the risers there are some vertical lines to aid with centering the bars, the inside edge of each riser should be virtually clamping on to the 4th line on each side so you'll have 3 lines definitely showing on each side between the risers and the 4th barely distinguishable under the riser.
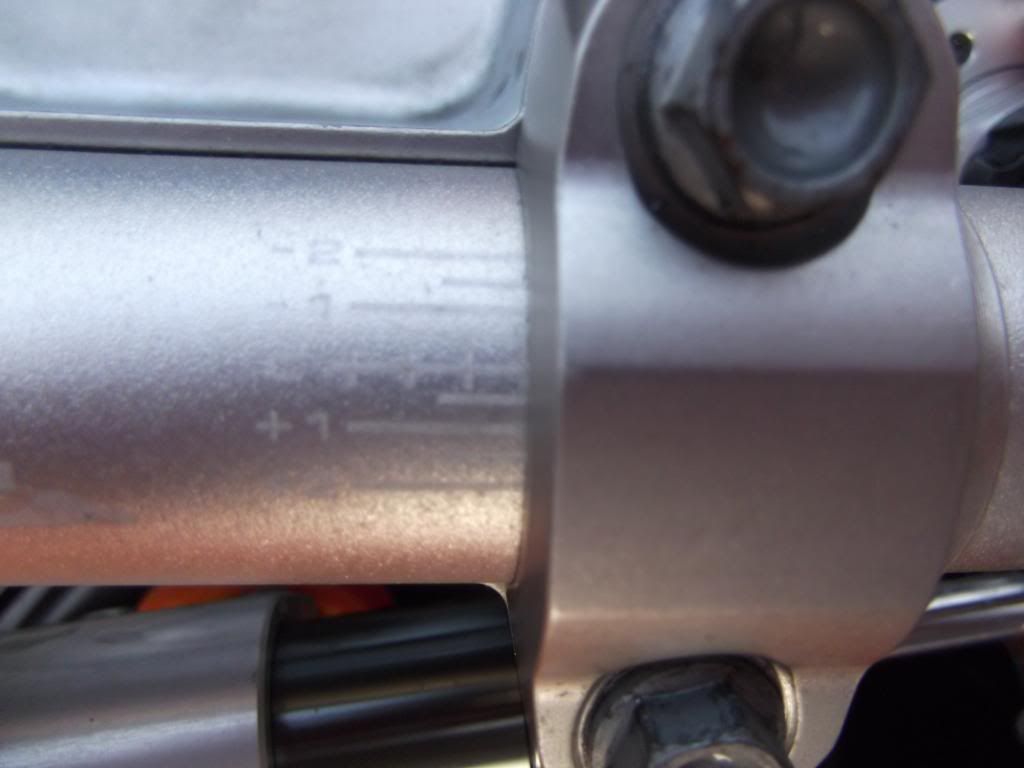
For 0 degree of tilt, you need to line up the 0 horizontal line with the uppermost bend of the riser, ie; as you work back from the front bolt there is a clear line where the angle of the riser clamp changes, I don't know how you line up on the newer SDR clamp though, I finger tightened the pinch bolts to do this so it didn't move too quickly and could be tightened a little more once set to hold it in place
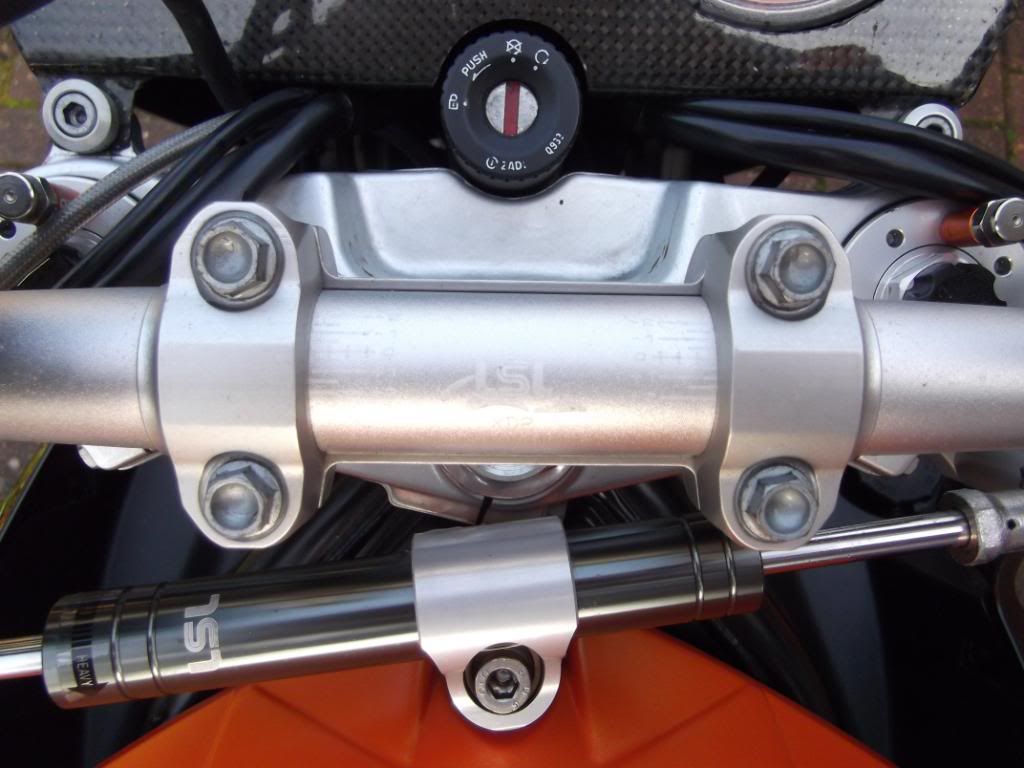
Bolt the bars in evenly into the clamps by doing each bolt up a little at a time until tight and making sure the risers have a matching gap on either side when you start.
Now you need to transfer the rest of the controls from the std bar to the new bar.
To be continued, got an appt in 10 minutes
Firstly you'll want to know where to get them, they don't seem to be available in the uk so you're probably going to order them from here
EDIT: If anybody wants silver bars let me know as I originally wanted black so maybe we can do a deal on you ordering black and swapping for my silver bars for a small cash incentive from me to you.
Also the link below are apparently not stocking them anymore but Big Ash has posted another link below where he has ordered his from.
https://www.polo-motorrad.de/en/drag-fa ... 75524.html
Ok, so the most important thing about all of this for me was getting the width right, I wanted the exact same width as the std bars as I have limited space to run my bike down the side of my house and didn't want to reduce the leverage I have on the bike which helps us to chuck these bikes around so much.
So after careful measuring of the std bars, centreline to centreline and laying it up on the new bars I worked out that you need to cut 47.5 mm off of each side to get the same width as std.
To cut the bars to size I used a pipe cutter like this one
although mine was not in the best condition and so it took a while longer than expected, the 2nd side was easier, I just kept winding up the pipe cutter to keep it really tight and held onto the bar with my foot on top of an outdoor table while i did it, a vice and something to protect the bar from marking would of course have been easier though if you have them, alternatively you could mount the bars in the risers to hold em while you cut em down but I didn't think of this till after, doh!Once I cut em down to size I unbolted the headlight cowl and dropped it forward to give the cables room to move.
I then took the left hand grip off of the std bars by just peeling it back and fitted it to the new bar, in hindsight I should have used something to stick it with as it was moving at cadwell recently.
I loosened all the bolts on the hardware (levers, controls, etc) so they were holding but only finger tight and unbolted the std bars from the risers and rested them on the headlight cowl so all the fluids stayed mostly upright.
I didn't want to have to mess around with the adjustment on my throttle to remove it so I slid all the left hand controls as close to the centre of the std bars as I could to give me enough slack to slide the throttle off with cables still attached and then slid it on the new bar before bolting it into the risers, if you don't have enough slack you might need to remove the left controls completely. Once bars are mounted In order to still have the throttle cables pointing downwards in the normal fashion, you'll need to route the cables underneath the headlight cowl bolt point on the triple clamp so that they come out between the mask and fork instead of over the top of the fork otherwise it is too kinked to keep things nice and smooth, alternatively you could rotate the throttle so they point upwards and still go down through the top of the cowl like mac boarder did but I didn't like this look.
Once in the risers there are some vertical lines to aid with centering the bars, the inside edge of each riser should be virtually clamping on to the 4th line on each side so you'll have 3 lines definitely showing on each side between the risers and the 4th barely distinguishable under the riser.
For 0 degree of tilt, you need to line up the 0 horizontal line with the uppermost bend of the riser, ie; as you work back from the front bolt there is a clear line where the angle of the riser clamp changes, I don't know how you line up on the newer SDR clamp though, I finger tightened the pinch bolts to do this so it didn't move too quickly and could be tightened a little more once set to hold it in place
Bolt the bars in evenly into the clamps by doing each bolt up a little at a time until tight and making sure the risers have a matching gap on either side when you start.
Now you need to transfer the rest of the controls from the std bar to the new bar.
To be continued, got an appt in 10 minutes